Implementing a Spiceworks based Ticketing System & Documentation Lab
Table of Contents
Lab Overview
This project is a comprehensive simulation of an IT Help Desk environment using Spiceworks Cloud Help Desk. Beyond basic ticket logging, this lab demonstrates the full lifecycle of IT support—from initial triage and prioritization to resolution and documentation.
It integrates key IT Service Management (ITSM) concepts, including Incident Management, Remote Support, Knowledge Management, and Asset/Inventory Management, providing a realistic view of Tier 1 and Tier 2 support operations.
Objectives
By completing this lab, you will learn to:
- Master the full ticket lifecycle by creating, triaging, assigning, and resolving tickets in compliance with SLA requirements.
- Initiate and manage remote assistance sessions to directly troubleshoot and resolve end-user technical issues.
- Create and publish Knowledge Base articles to document solutions and empower users with self-service options.
- Scan for network devices and associate inventory assets with specific tickets to enhance hardware tracking and visibility.
- Simulate real-world support scenarios by handling common requests such as password resets, access denials, and hardware failures.
Introduction
1. What is a Ticketing System
A ticketing system is a tool used by IT teams to record, track, manage, and resolve technical issues submitted by users. It ensures:
- Clear documentation
- Proper routing
- Efficient communication
- Accountability
- Traceability of troubleshooting steps
Examples: Spiceworks, Jira Service Management, Zendesk, Freshservice.
2. Key Terms
- Ticket ID: A unique number assigned to every ticket for tracking and referencing.
- Requester: The person reporting an issue.
- Category: The classification of the issue (e.g., Hardware, Software, Network).
- Assigned To: The technician responsible for handling the ticket.
Priority Levels
| Priority | Meaning | Impact | Example |
|---|---|---|---|
| Critical (P1) | Major outage | High | Company email system down |
| High (P2) | Department-level issue | Moderate | Accounting software offline |
| Medium (P3) | Single-user issue | Low | Outlook not syncing |
| Low (P4) | Minor request | Minimal | User needs a new mouse |
Status Types
| Status | Meaning |
|---|---|
| New | Ticket created, not yet reviewed |
| In Progress | Technician working on it |
| Pending User Response | Waiting for user info |
| Escalated | Sent to higher-level technician |
| Resolved | Technician fixed the issue |
| Closed | User confirms issue is solved |
3. Service Level Agreements (SLA)
An SLA is a commitment between a service provider and a client. In a help desk context, it defines the expected time frame for responding to and resolving tickets based on their priority.
Common SLA Targets
| Priority | Response Time | Resolution Time |
|---|---|---|
| Critical (P1) | 15 Minutes | 4 Hours |
| High (P2) | 1 Hour | 8 Hours |
| Medium (P3) | 4 Hours | 24 Hours |
| Low (P4) | 24 Hours | 48 Hours |
Lab Setup
This lab will use Spiceworks Cloud Help Desk as the ticketing system. Go to the link below and click Launch Help Desk.
Spiceworks Free Help Desk
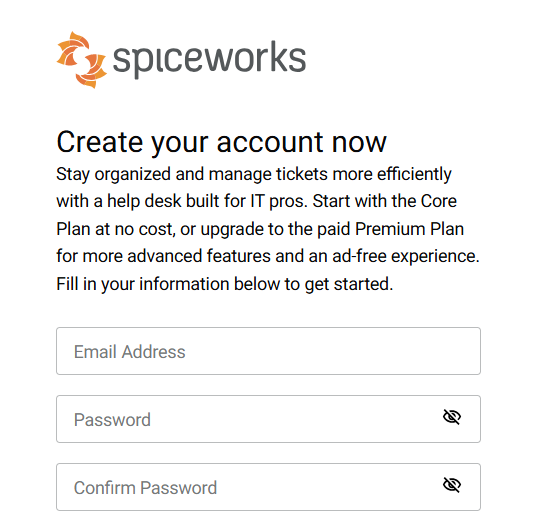
You will now create an account to access the help desk software.
Next you will need to enter a company name and domain name. You can just enter generic names for the purposes of the lab. Click Launch Help Desk to continue.

Common Ticket Tasks
You will first arrive at the Tickets tab. You will now go through the most common tasks associated with tickets.
a. Creating Tickets
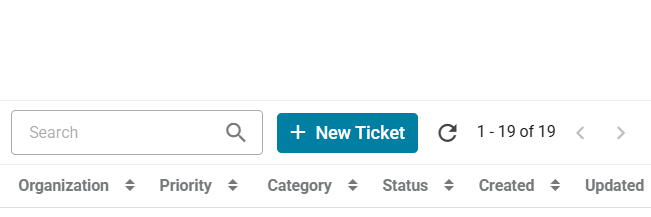
Often you will first receive a call from an end user with a problem. You will then need to create a ticket yourself so that you can document the interaction. You can create a ticket by clicking the New Ticket button in the upper right.
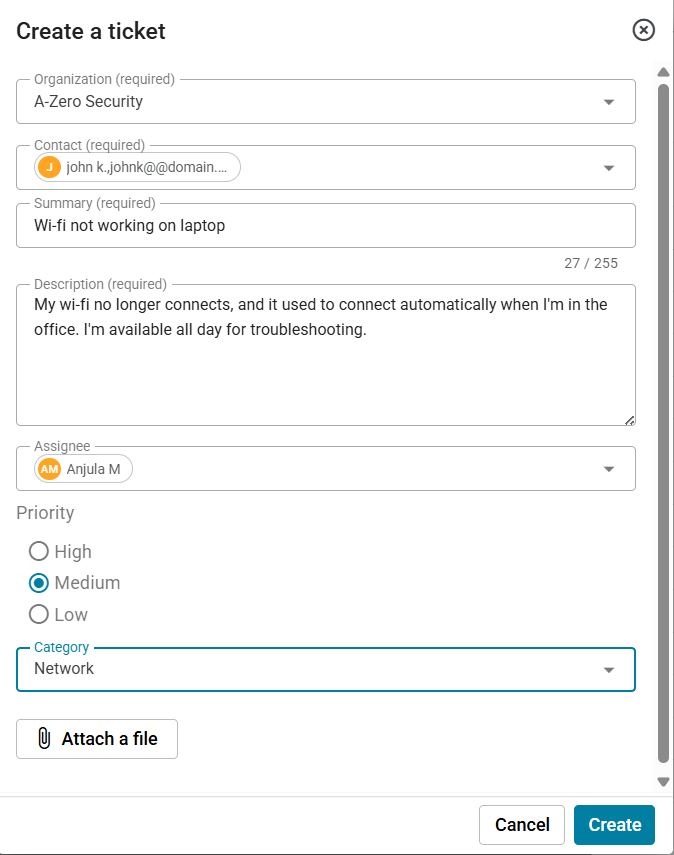
You can now go through the process of creating a ticket. The Contact field is where you would normally add the user’s name. For the purposes of the lab, you can add your user account here. For the summary and description, you can enter a generic scenario like "Wi-fi not working on laptop". Under Assignee, you can add your user account since you are the one handling the incident. Next choose a priority and category. Then click Create to continue.
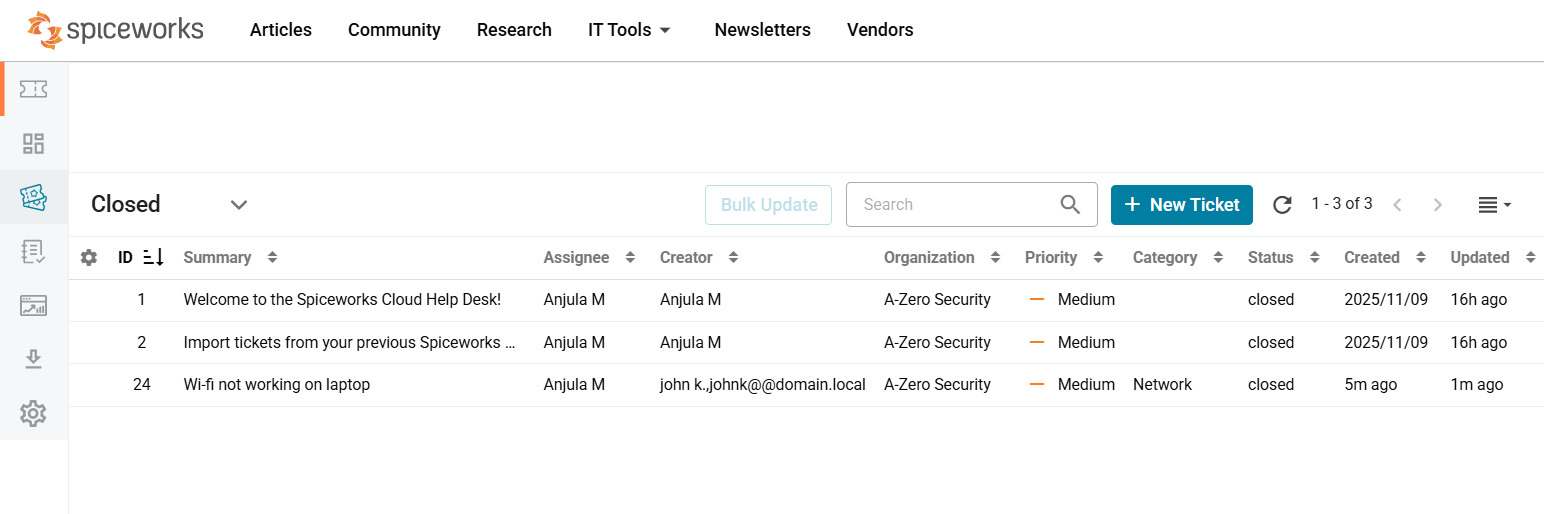
You will now see the newly created ticket in the Tickets tab. Click on it to open the ticket.
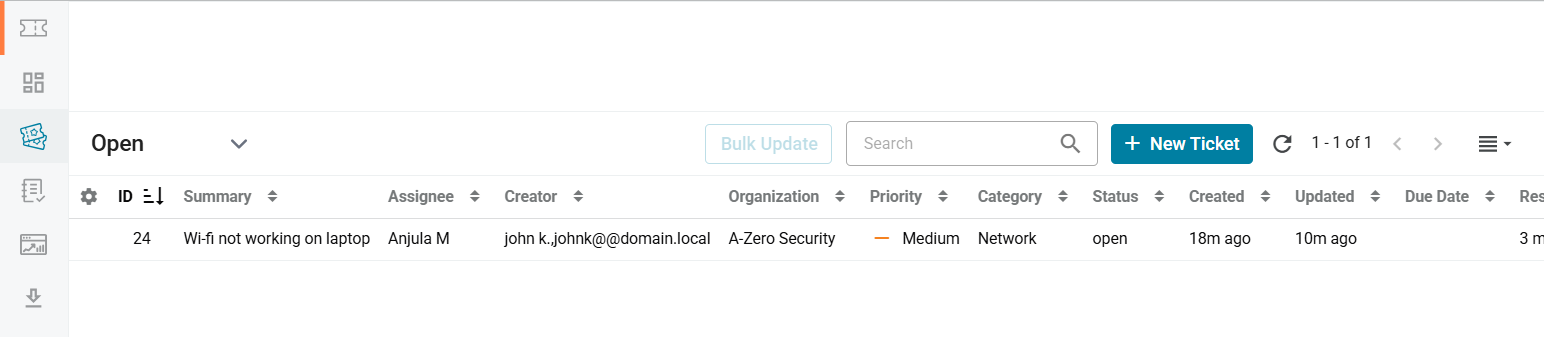
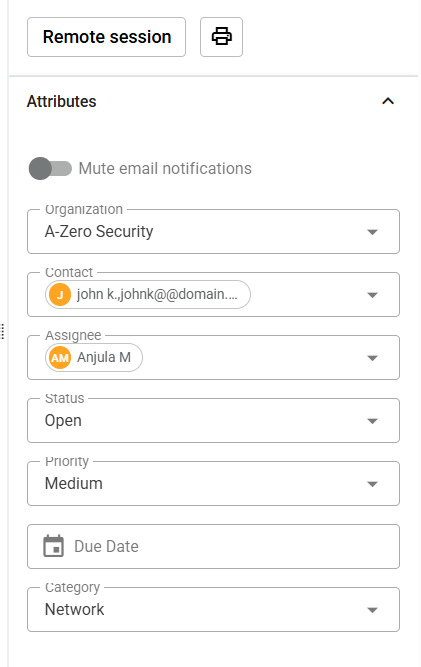
A menu will popup on the right. This will allow you to edit the Attributes for this ticket.
b. Assigning / Escalating Tickets
Sometimes you will get a ticket that you cannot solve yourself or is outside your scope of work. Examples of this might include the company’s web servers being down. You will need to assign that ticket to the right department. You can either assign it to the entire department or to a specific person in that department.
You can assign a ticket by clicking the dropdown menu under the Assignee field. You can then search for the specific department or person you want to assign the ticket to.

c. Changing Ticket Priority
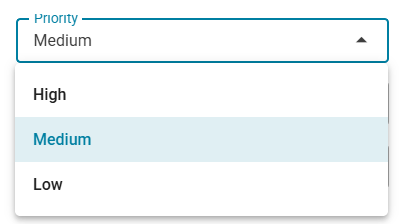
When you first receive a ticket, you will have to look at the priority assigned to it and decide if its correct for that issue. Often end users will assign the wrong priority to the tickets they submit. They may want their tickets to be resolved right away so they place a higher priority in hopes it gets addressed faster.
To change the priority of a ticket. Click on the drop-down menu under the Priority menu. You can now change it to the appropriate level.
d. Changing Ticket Due Date
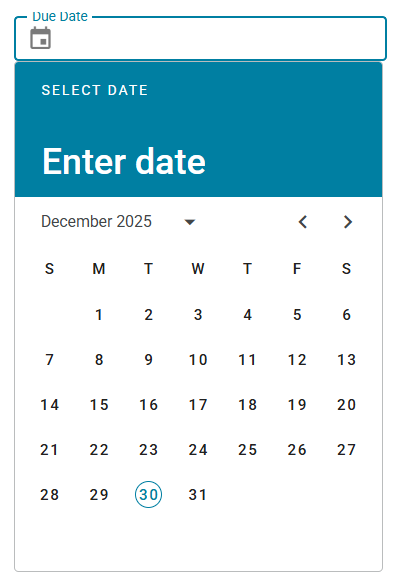
If there is a service level agreement in place, you will have a certain time frame to resolve tickets. To make sure tickets don’t fall through the gaps, you should assign a due date to tickets.
To change the due date of a ticket. Click on the Due Date field. You can now change it to a date that is reasonable for a ticket of that priority to be resolved.
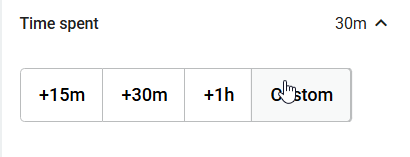
e. Changing Time Spent on Ticket
Noting the time spent working on a ticket will help management identify what tickets are occupying the most time. You can click the predefined time buttons or click Custom to enter a more specific number.
You can click the predefined time buttons or click Custom to enter a more specific number.
f. Add Tasks to Tickets
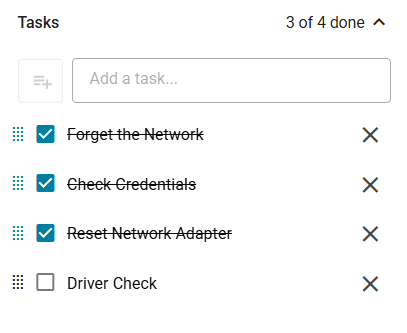
When dealing with more complex tasks, it is helpful to document the steps you want to take to resolve the problem. This is also helpful to know what steps you or another colleague have already taken.
Add a task by entering it in the text field under the Tasks attribute. You can click the box next to a task to mark it as complete. Completed tasks will have a strike-through over them.
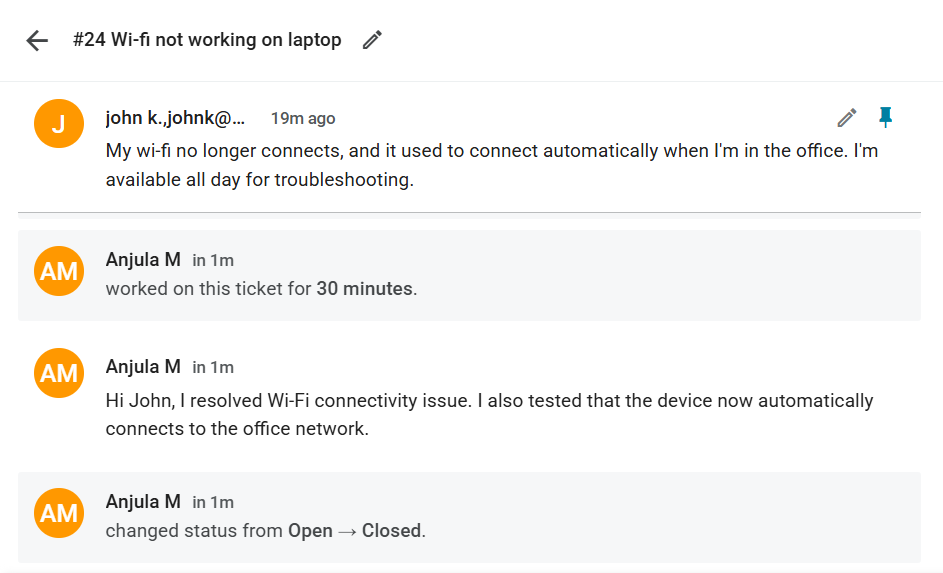
g. Documenting Tickets
As you take steps to complete a ticket, its important to document the interaction. This will help others understand the steps you took to resolve this particular ticket. This is helpful for others who want to reference this ticket to understand how to solve similar problems in the future.
The documentation area is on the left side of the page when you click on the ticket. Here you can type a public response that is visible to the user or type an internal note that is for documentation purposes.
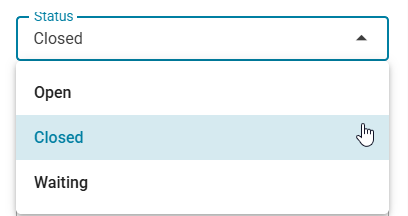
h. Changing Ticket Status
Once a problem is resolved, you can now close the ticket by setting the status to Closed. You can change the status of a ticket by clicking on the drop-down menu under Status.
You can change the status of a ticket by clicking on the drop-down menu under Status.
Remote Assistance
To resolve an issue for an end user, it's useful to be able to see their screen or even take control of the machine to fix the problem. You can do this by using the remote assistance features in Spiceworks. This feature uses an integration with Zoho Assist.
Setup remote assistance
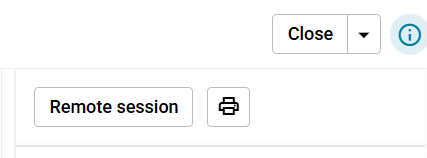
The easiest way to access the remote assistance feature is to click on the ticket and then click on the Remote session button on the right.
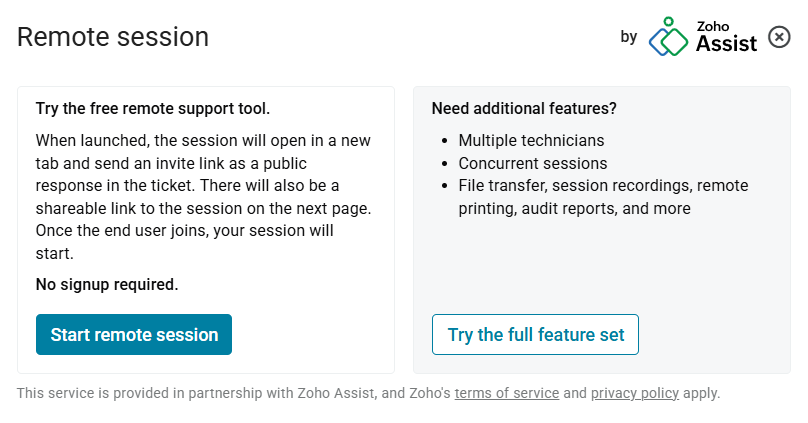
The following dialogue will popup. Click Start remote session on the left.
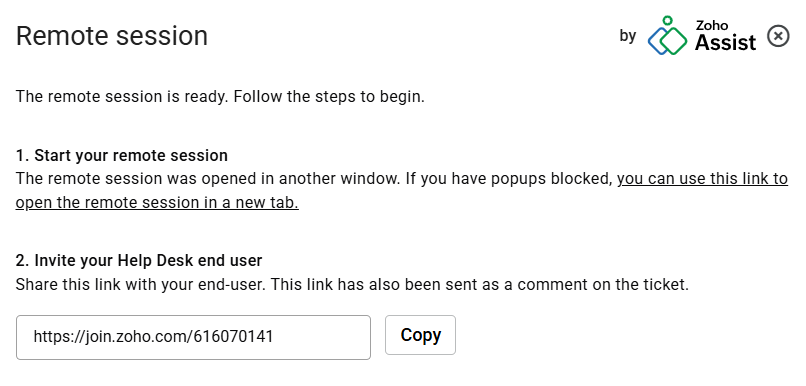
Click the link in step 1 to open the remote session. Send the link in step 2 to the end user.
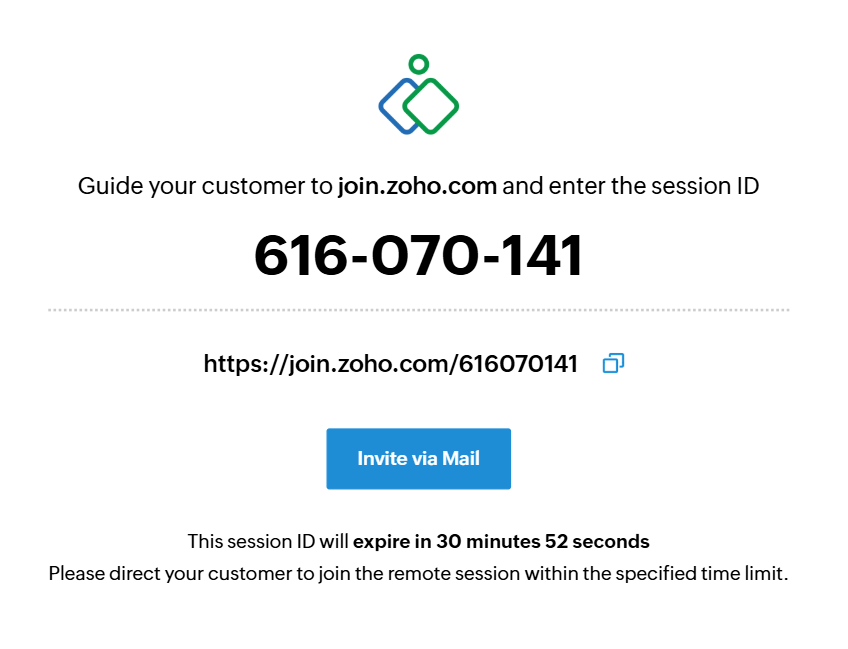
You will see the following page until the end user sets up the remote session on their end. You will need to talk them through the process if needed. Follow the steps below to do that.
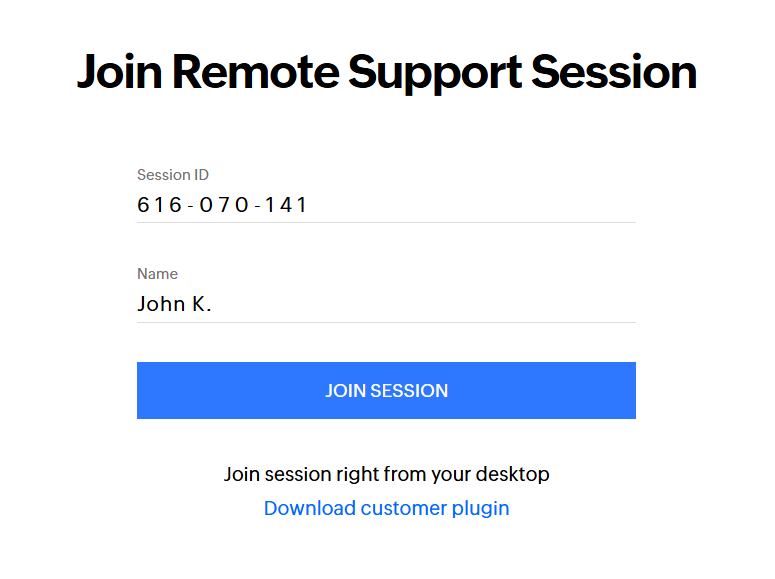
The end user will see the following screen when they click on the link you send them. The session ID will be filled out so they only need to enter their name then click Join Session.
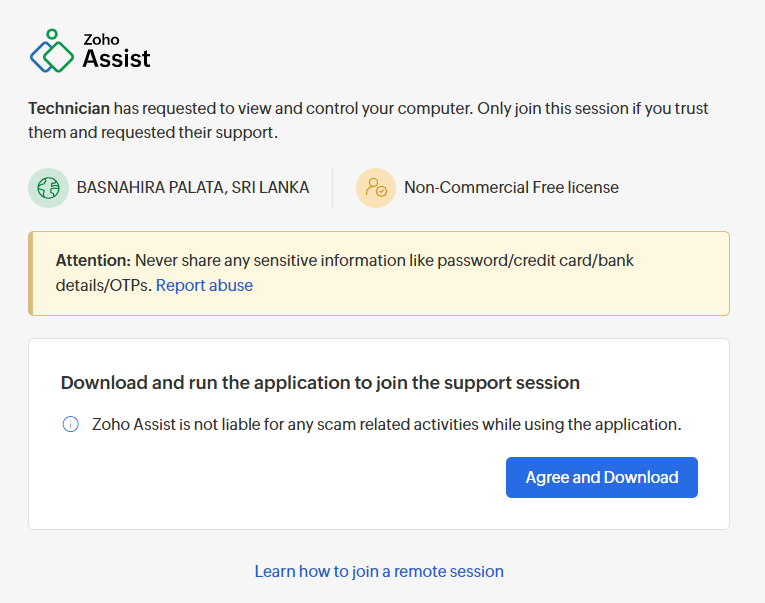
They will then need to download and install the remote desktop software.
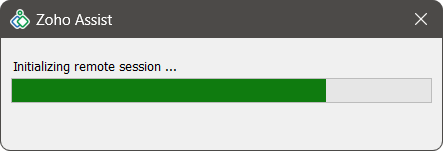
After the download is completed, the end user will need to open the installer to continue. It will take a short while to install.
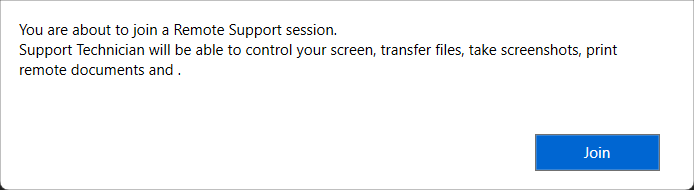
When the installation is complete, the end user will see the following popup. They will need to click Join to launch the remote session.
You will see something like "The User has joined the session, Waiting for session confirmation" while you wait for the end user to Join the session.
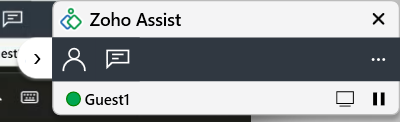
Once they join the session, you will see the end user’s desktop. In the lower corner you will see this box below. This lets you know you are in a remote session. You are now controlling the user’s machine.
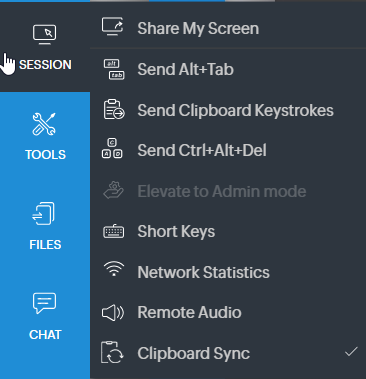
The remote software will give you an option to elevate to admin if you are performing tasks that need that. It is under Session -> Elevate to Admin mode.
How to Properly Log a Ticket
✔ Gather User Information
- Name, Email, Contact number, Department, Location
✔ Gather System Information
- Device type, Operating system, Software version, Network type
✔ Categorize the Issue
- Software, Hardware, Network, Access request
✔ Determine Priority Level
- Based on impact and urgency.
Practice Scenarios
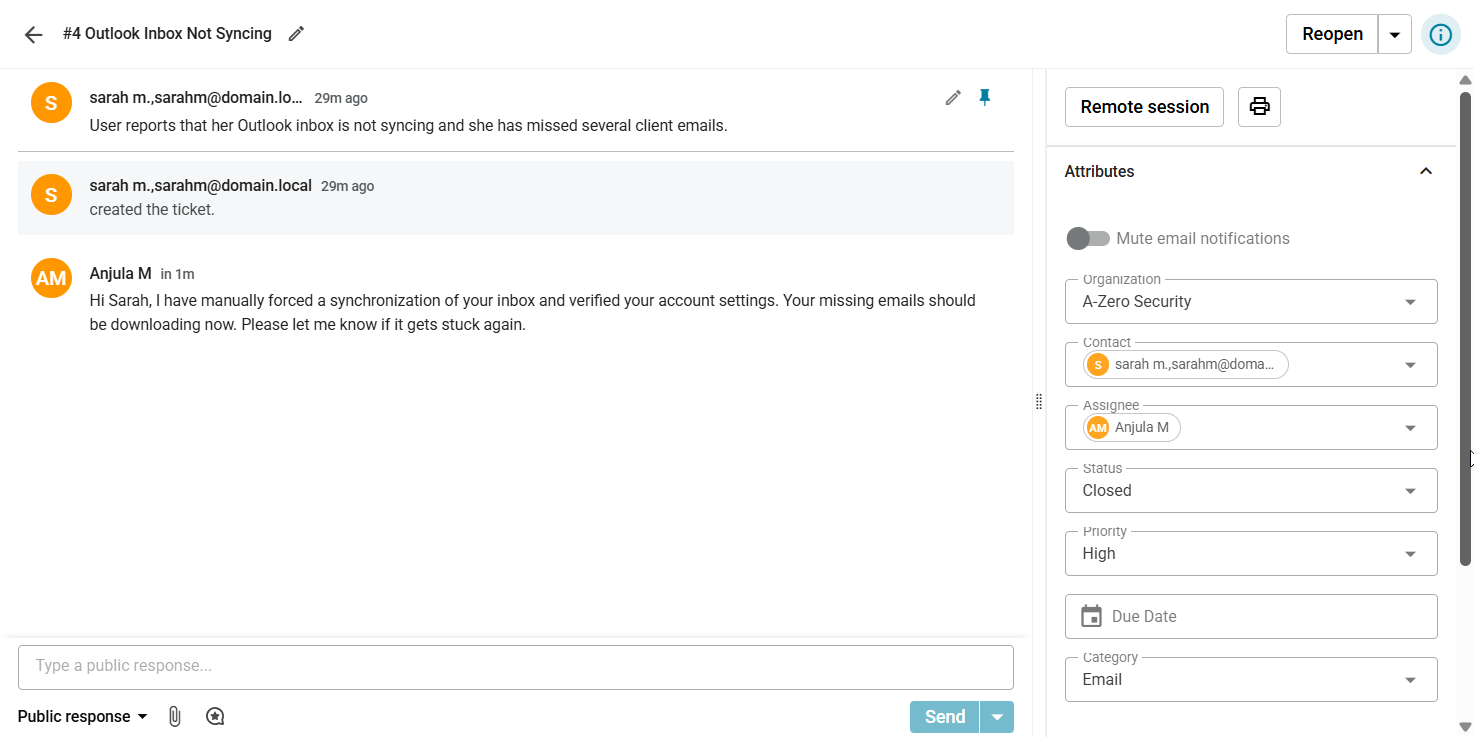
Requested by: Sarah M., Marketing
Summary: Outlook Inbox Not Syncing
Description: User reports that her Outlook inbox is not syncing and she has missed several client emails.
Priority: High (P2)
Actions taken to resolve: Collected system details. Restarted Outlook and verified account settings. Checked mailbox size limits and current sync status. Initiated a manual folder update.
Response: "Hi Sarah, I have manually forced a synchronization of your inbox and verified your account settings. Your missing emails should be downloading now. Please let me know if it gets stuck again."
Status: Closed
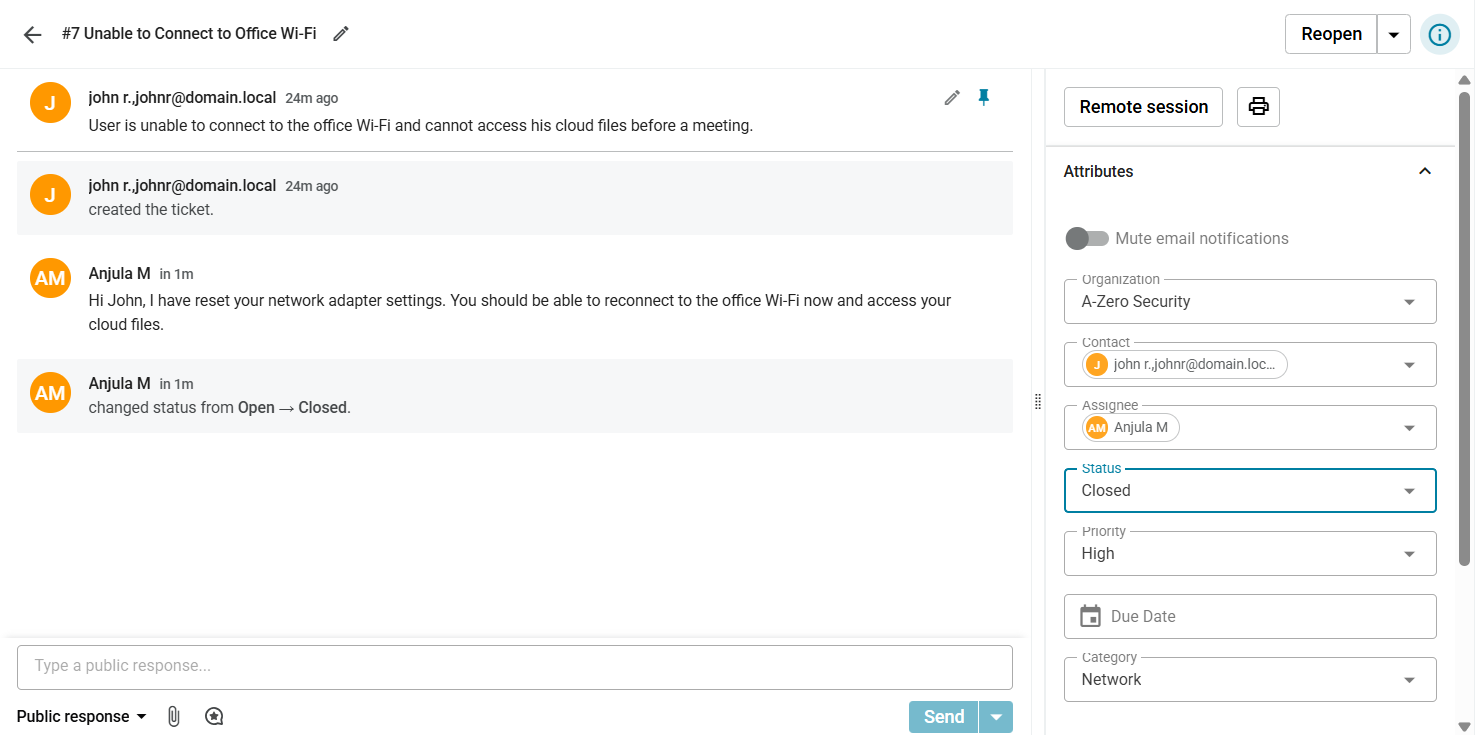
Requested by: John R., Sales
Summary: Unable to Connect to Office Wi-Fi
Description: User is unable to connect to the office Wi-Fi and cannot access his cloud files before a meeting.
Priority: High (P2)
Actions taken to resolve: Verified network adapter status. Checked Wi-Fi availability and tested connection on a separate device to rule out an outage. Reset the user's network adapter.
Response: "Hi John, I have reset your network adapter settings. You should be able to reconnect to the office Wi-Fi now and access your cloud files."
Status: Closed
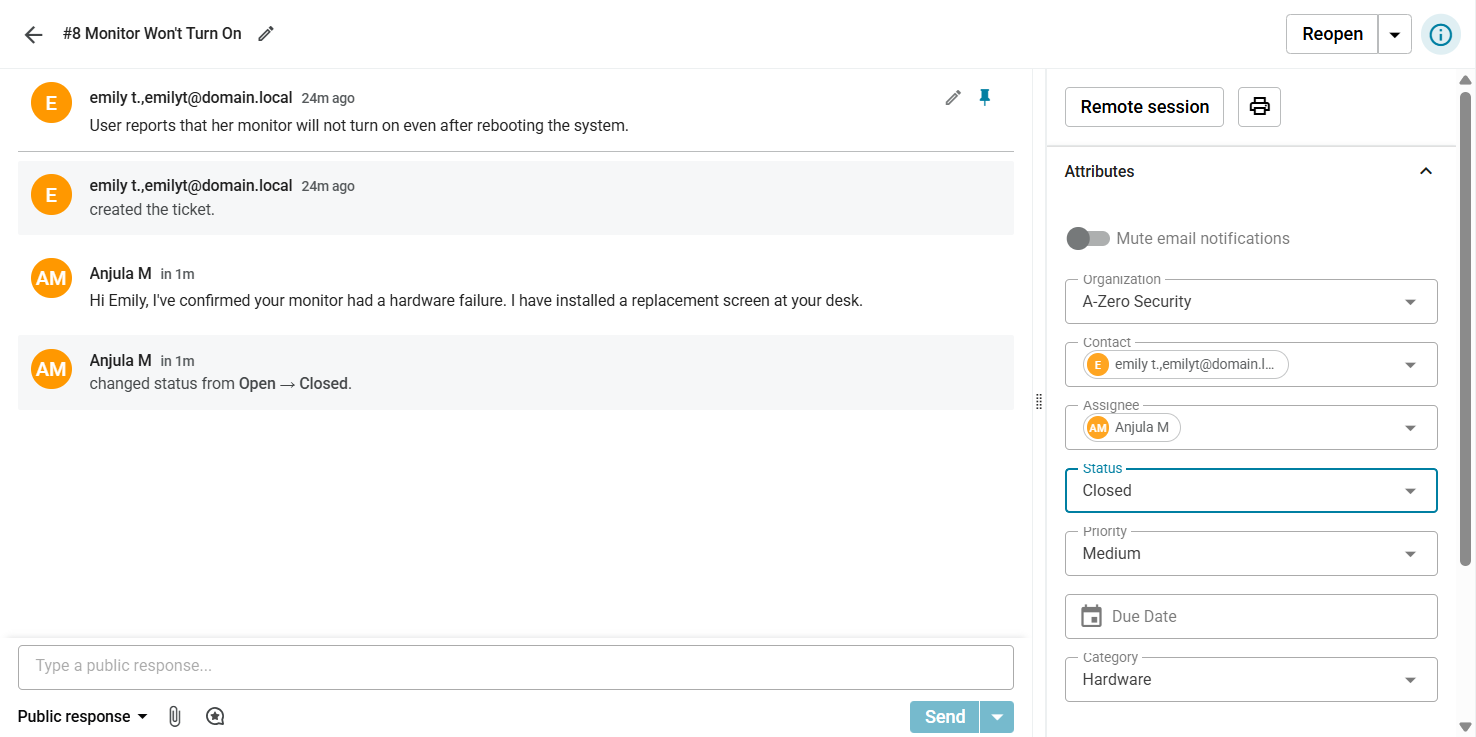
Requested by: Emily T., HR
Summary: Monitor Won't Turn On
Description: User reports that her monitor will not turn on even after rebooting the system.
Priority: Medium (P3)
Actions taken to resolve: Inspected power cable and tested HDMI/DisplayPort connections. Tested with a spare monitor which worked immediately. Confirmed original monitor hardware failure. Installed replacement.
Response: "Hi Emily, I've confirmed your monitor had a hardware failure. I have installed a replacement screen at your desk."
Status: Closed
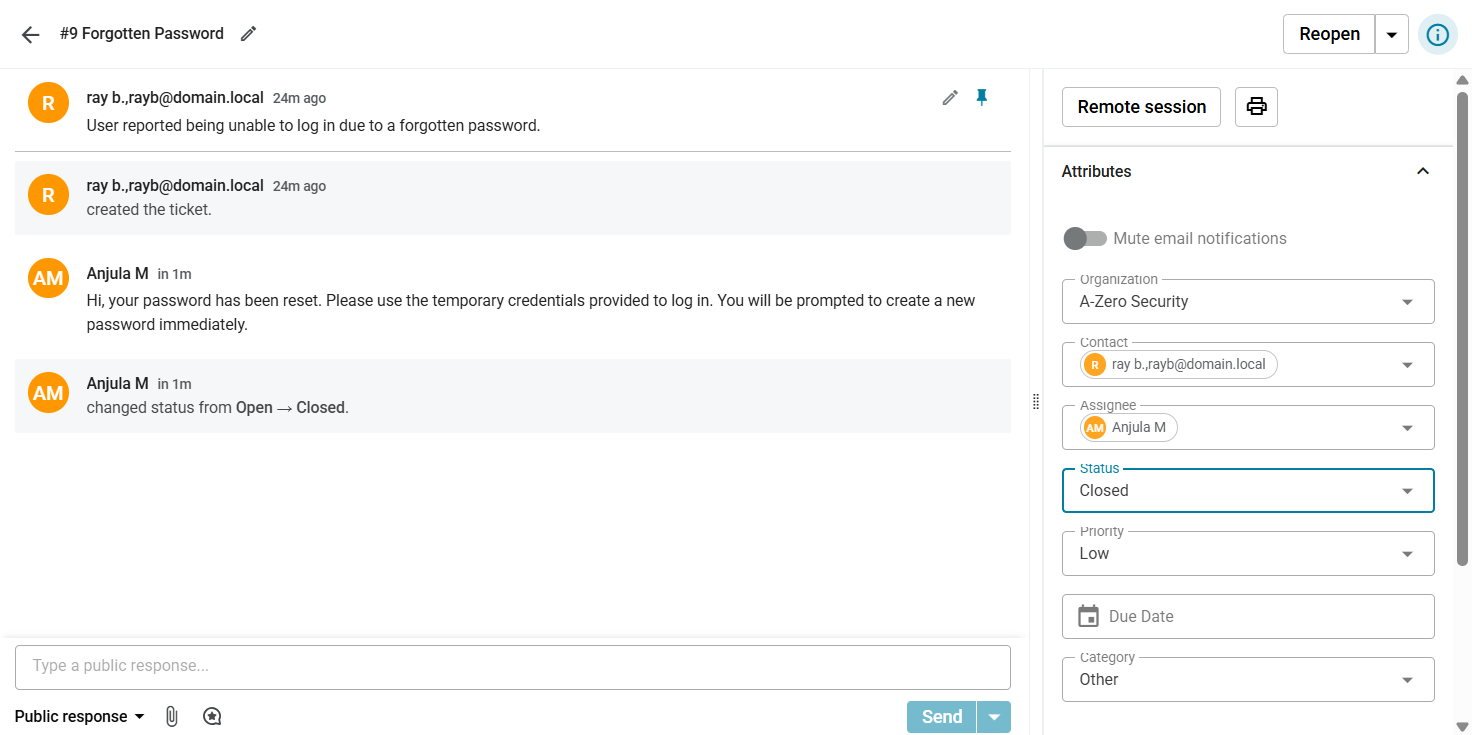
Requested by: Ray B., Sales
Summary: Forgotten Password
Description: User reported being unable to log in due to a forgotten password.
Priority: Low (P4)
Actions taken to resolve: Verified user identity via manager. Located `rayb` account in Active Directory. Used the 'Reset Password' function and checked 'User must change password at next logon'.
Response: "Hi, your password has been reset. Please use the temporary credentials provided to log in. You will be prompted to create a new password immediately."
Status: Resolved
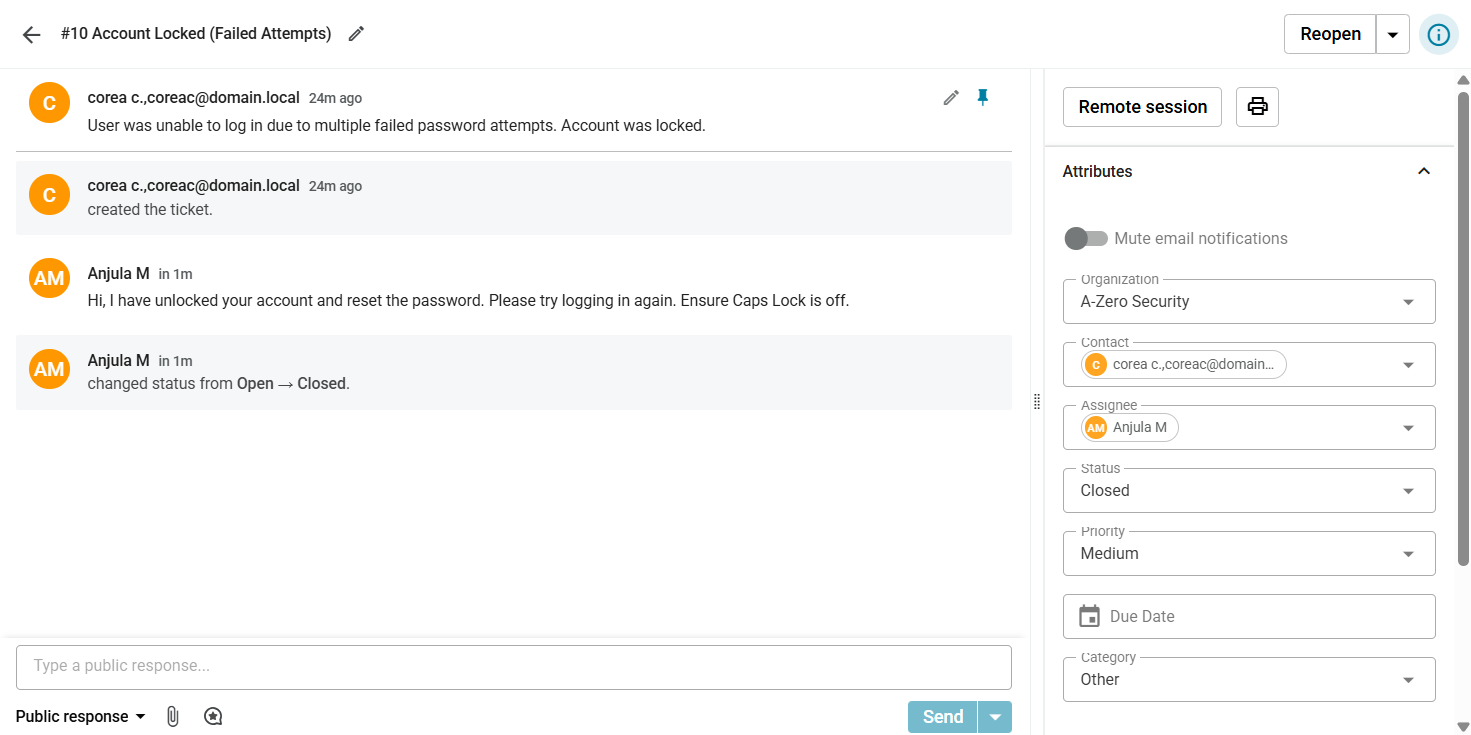
Requested by: Corea C., HR
Summary: Account Locked (Failed Attempts)
Description: User was unable to log in due to multiple failed password attempts. Account was locked.
Priority: Medium (P3)
Actions taken to resolve: Located `coreac` in Active Directory Users and Computers. Selected 'Reset Password' and checked 'Unlock Account'. Enabled 'User must change password at next logon'.
Response: "Hi, I have unlocked your account and reset the password. Please try logging in again. Ensure Caps Lock is off."
Status: Resolved
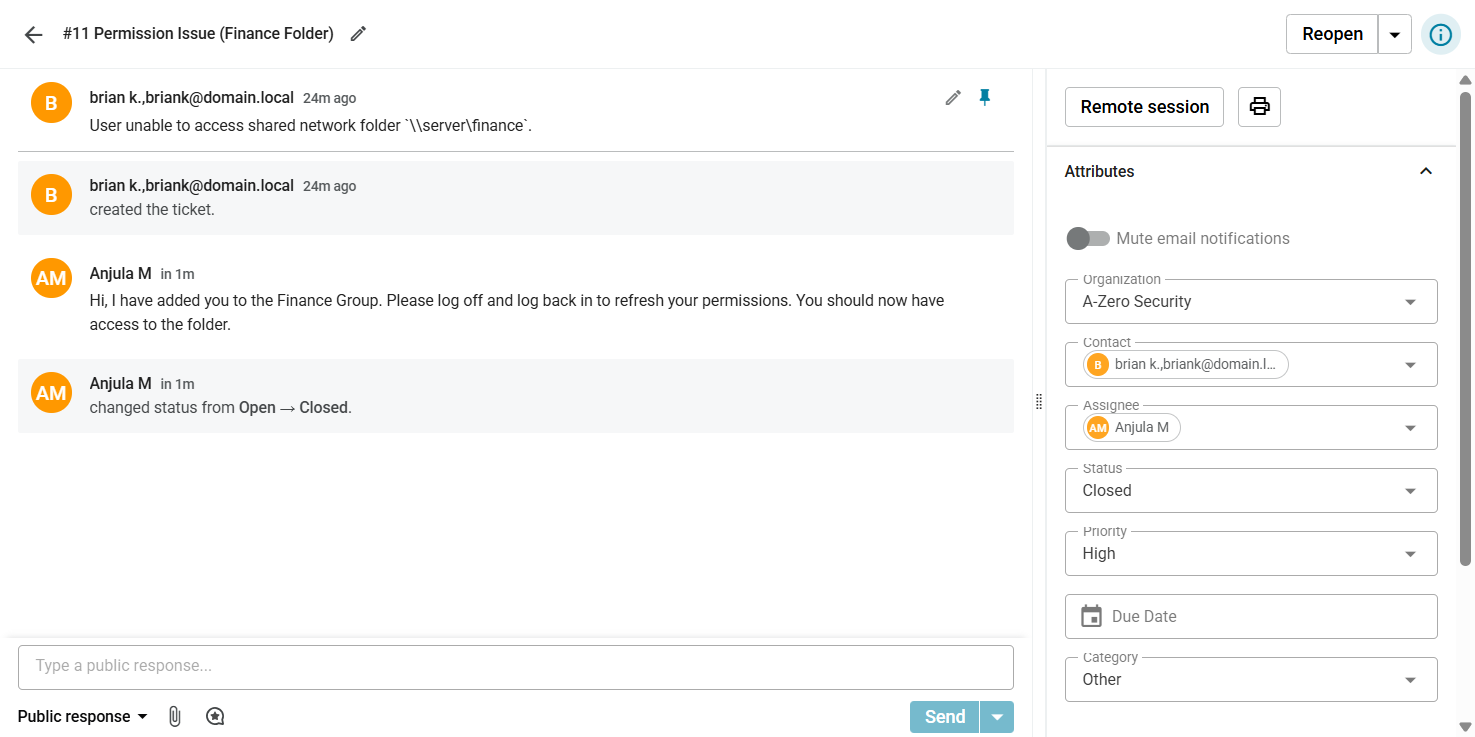
Requested by: Brian K., Finance
Summary: Permission Issue (Finance Folder)
Description: User unable to access shared network folder `\\server\finance`.
Priority: High (P2)
Actions taken to resolve: Verified user group membership in AD using PowerShell (`Get-ADUser`). Confirmed user was missing from `Finance_Group`. Added user to the group using `Add-ADGroupMember`.
Response: "Hi, I have added you to the Finance Group. Please log off and log back in to refresh your permissions. You should now have access to the folder."
Status: Resolved
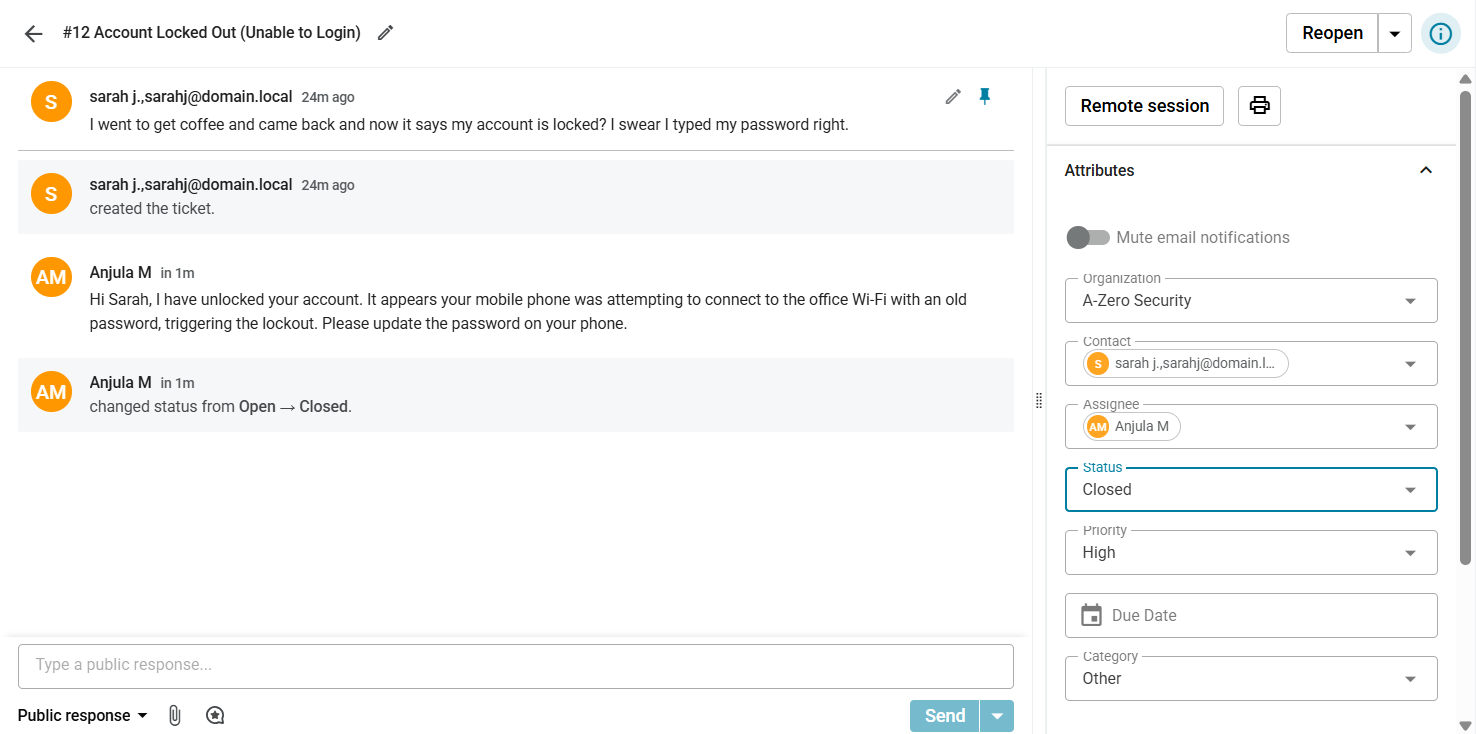
Requested by: Sarah J., Sales
Summary: Account Locked Out (Unable to Login)
Description: "I went to get coffee and came back and now it says my account is locked? I swear I typed my password right."
Priority: High (P2)
Actions taken to resolve: Verified user identity via phone. Checked Active Directory; confirmed account status was 'Locked'. Reviewed Security Logs (Event 4740) and identified a mobile device attempting to authenticate with old credentials. Unlocked the account.
Response: "Hi Sarah, I have unlocked your account. It appears your mobile phone was attempting to connect to the office Wi-Fi with an old password, triggering the lockout. Please update the password on your phone."
Status: Closed
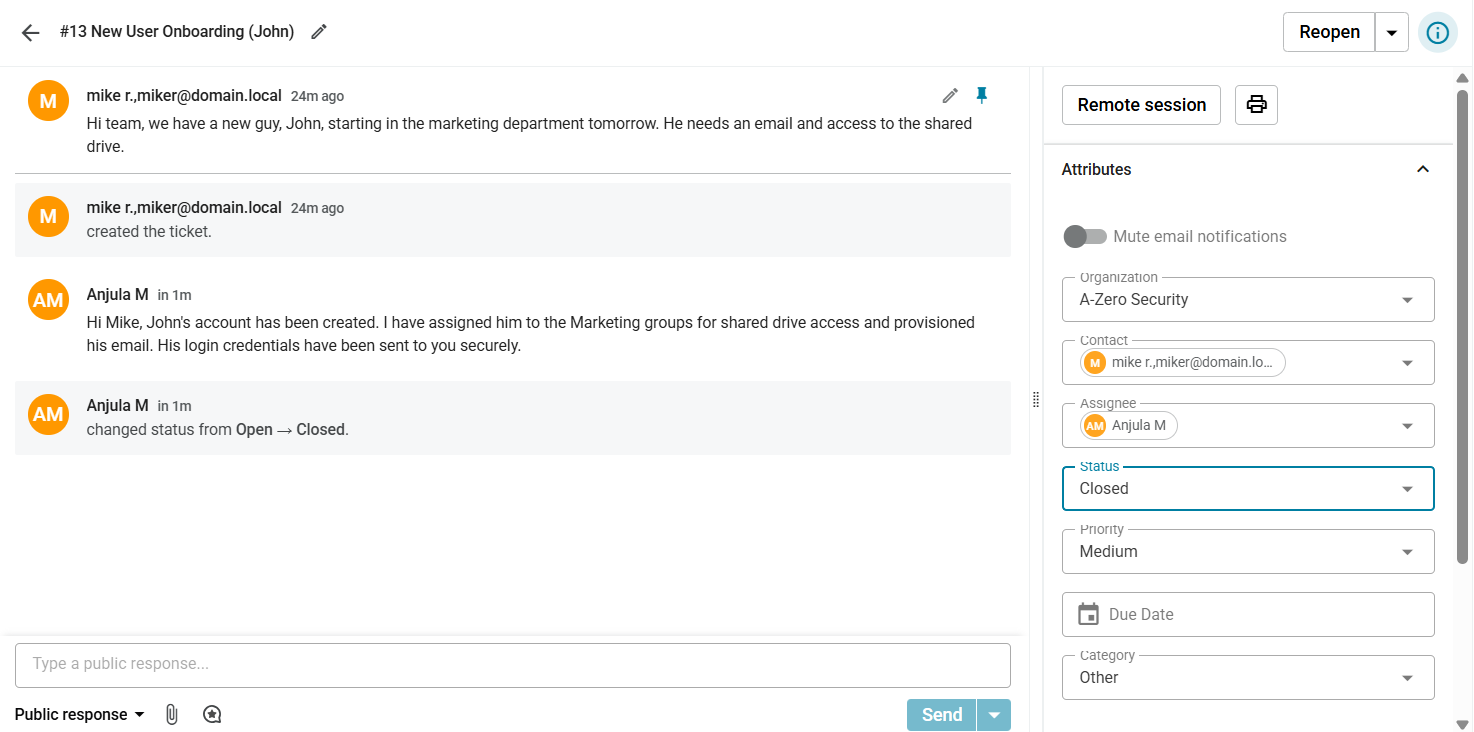
Requested by: Mike R., HR
Summary: New User Onboarding (John)
Description: "Hi team, we have a new guy, John, starting in the marketing department tomorrow. He needs an email and access to the shared drive."
Priority: Medium (P3)
Actions taken to resolve: Replied to HR to obtain the mandatory "New User Onboarding Form". Upon receipt, created the User Object in Active Directory. Assigned membership to `Domain Users` and `Marketing_RW` groups. Provisioned Office 365 mailbox.
Response: "Hi Mike, John's account has been created. I have assigned him to the Marketing groups for shared drive access and provisioned his email. His login credentials have been sent to you securely."
Status: Resolved
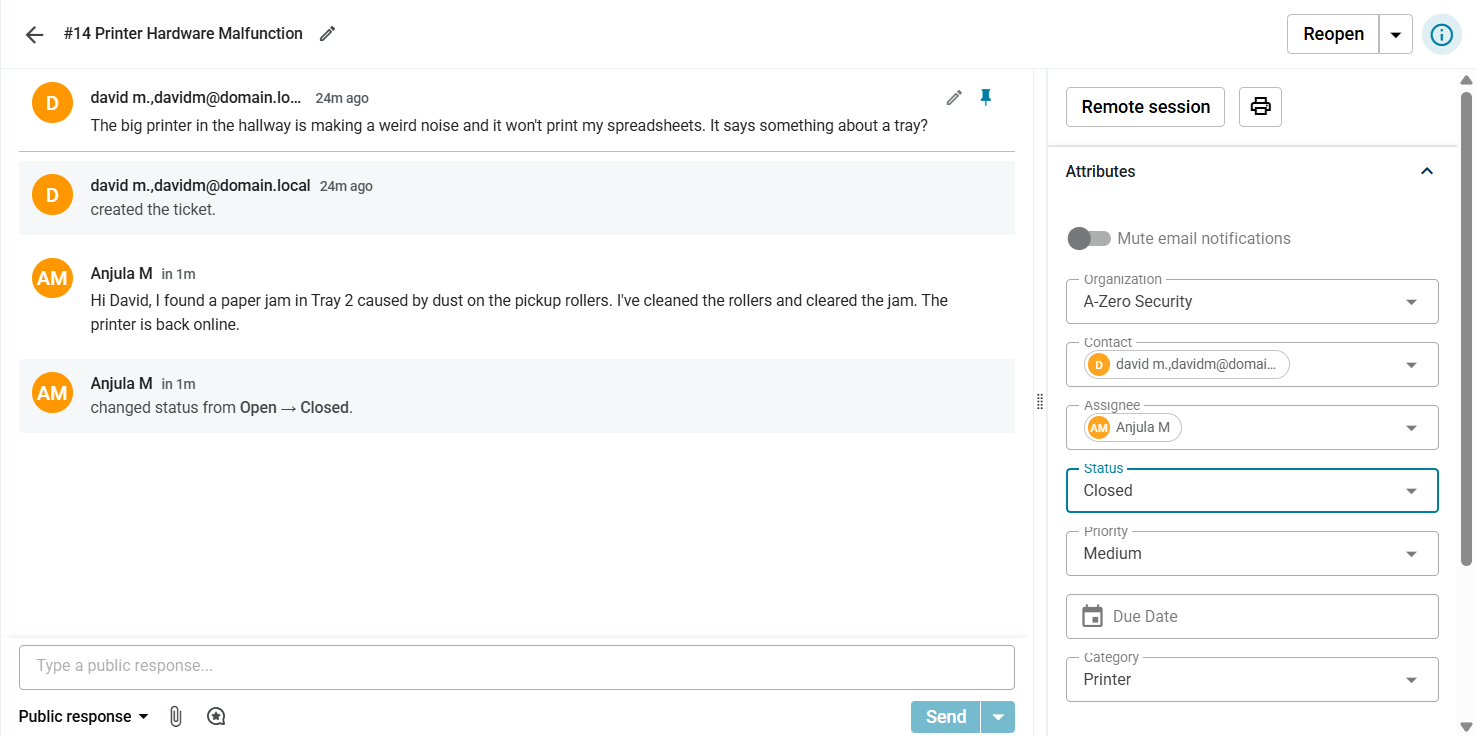
Requested by: David M., Finance
Summary: Printer Hardware Malfunction
Description: "The big printer in the hallway is making a weird noise and it won't print my spreadsheets. It says something about a tray?"
Priority: Medium (P3)
Actions taken to resolve: Checked Embedded Web Server (EWS) -> Device Status -> Found error "Paper Jam Tray 2". Physically inspected the tray and discovered worn pickup rollers causing a jam. Cleaned rollers and cleared the paper path.
Response: "Hi David, I found a paper jam in Tray 2 caused by dust on the pickup rollers. I've cleaned the rollers and cleared the jam. The printer is back online."
Status: Closed

Requested by: Jessica P., Managing Partner
Summary: Access to HR Secure Printer
Description: "I'm trying to print a confidential contract but I only see the 'General Staff' printer on my list. Can someone add the secure HR printer to my laptop?"
Priority: Medium (P3)
Actions taken to resolve: Verified user membership in `Security Group - HR Printers`. Initiated remote session, navigated to `\\PrintServer`, and mapped the "HR_Secure_Ptr" queue to the local machine.
Response: "Hi Jessica, I have remotely mapped the secure HR printer to your laptop. You should now see 'HR_Secure_Ptr' in your list of available printers."
Status: Closed
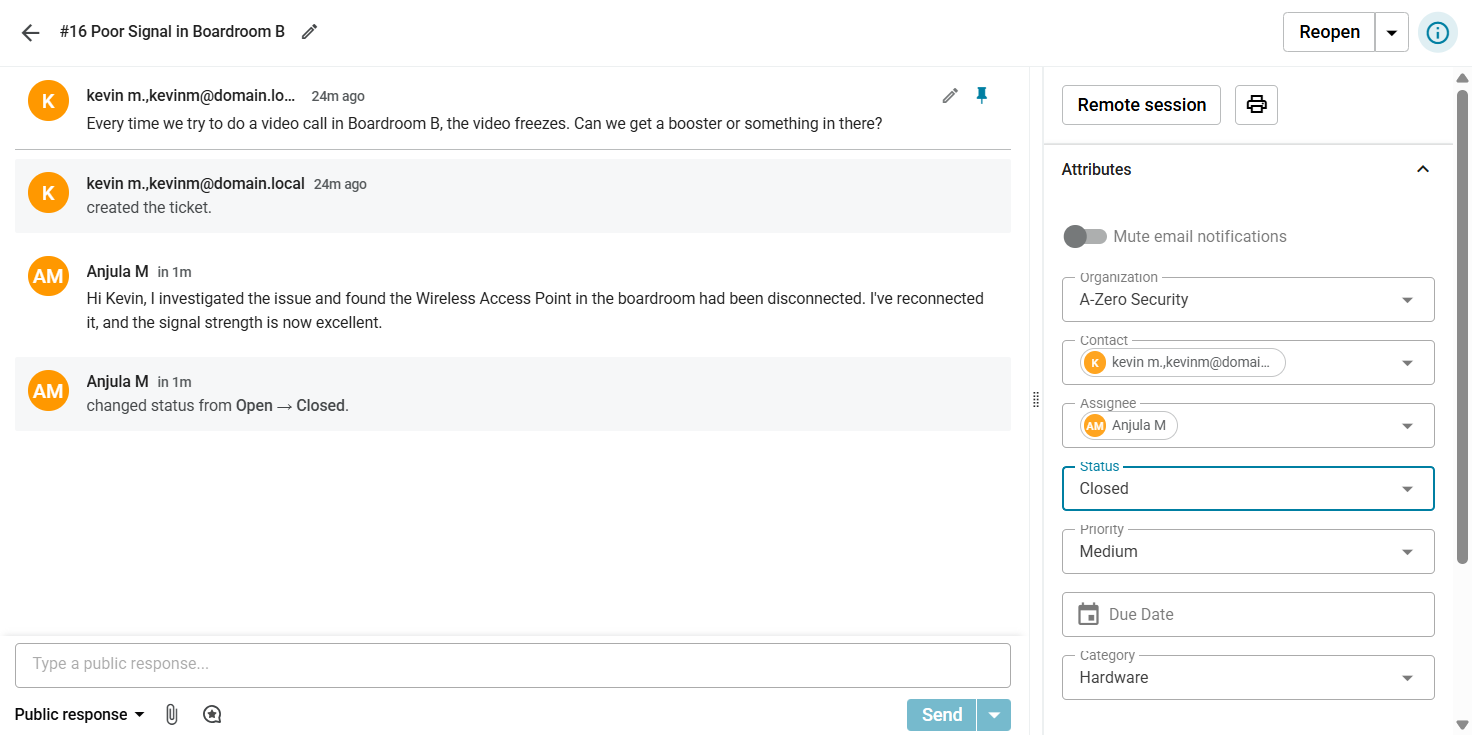
Requested by: Kevin M., Accounts
Summary: Poor Signal in Boardroom B
Description: "Every time we try to do a video call in Boardroom B, the video freezes. Can we get a booster or something in there?"
Priority: Medium (P3)
Actions taken to resolve: Performed site survey with Wi-Fi analyzer; RSSI was weak at -75dBm. Located the Access Point in Boardroom B and found it unplugged. Re-patched AP into the PoE switch. Confirmed signal improved to -45dBm.
Response: "Hi Kevin, I investigated the issue and found the Wireless Access Point in the boardroom had been disconnected. I've reconnected it, and the signal strength is now excellent."
Status: Closed
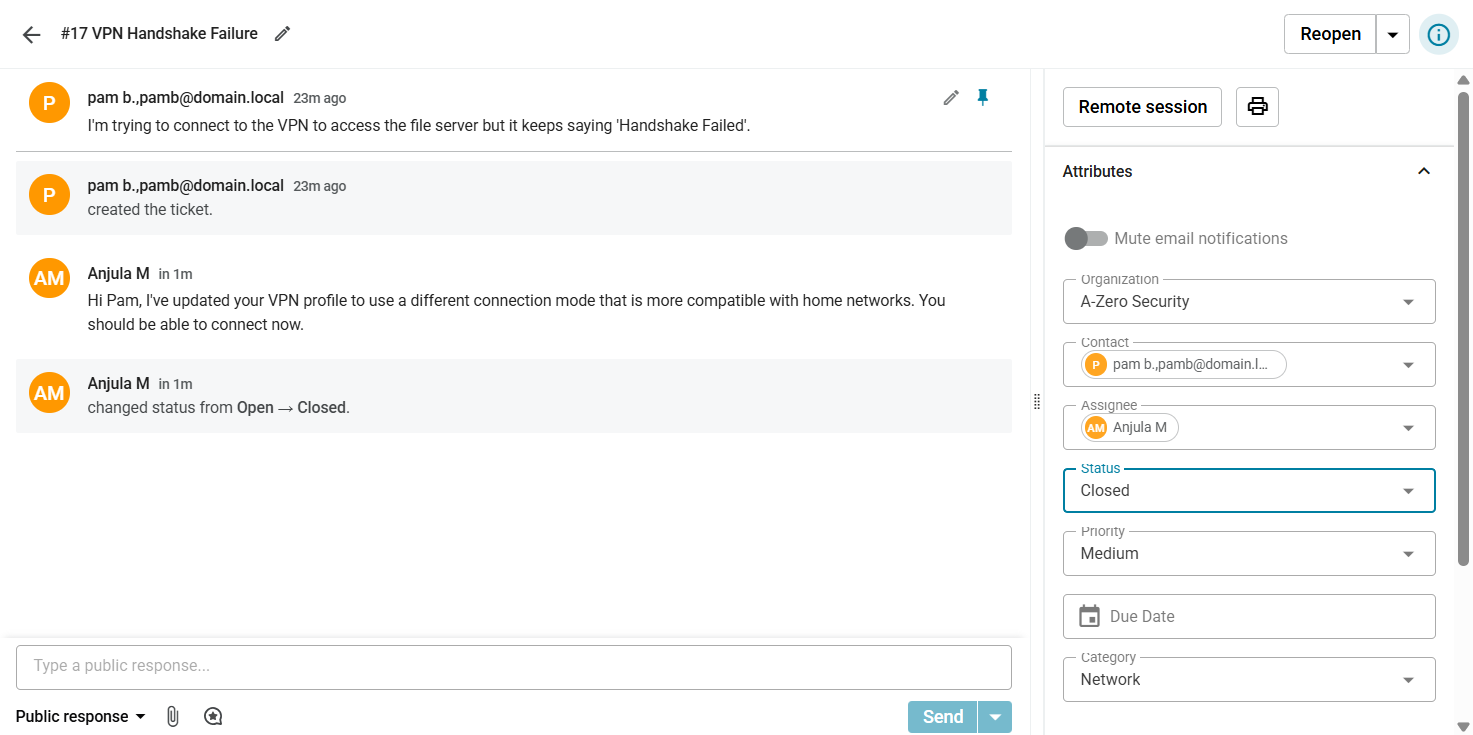
Requested by: Pam B., Admin
Summary: VPN Handshake Failure
Description: "I'm trying to connect to the VPN to access the file server but it keeps saying 'Handshake Failed'."
Priority: Medium (P3)
Actions taken to resolve: Reviewed VPN client logs which showed a TLS key negotiation failure (blocked by home router). Switched VPN client profile to "TCP Fallback" mode (Port 443) to bypass the restriction.
Response: "Hi Pam, I've updated your VPN profile to use a different connection mode that is more compatible with home networks. You should be able to connect now."
Status: Closed
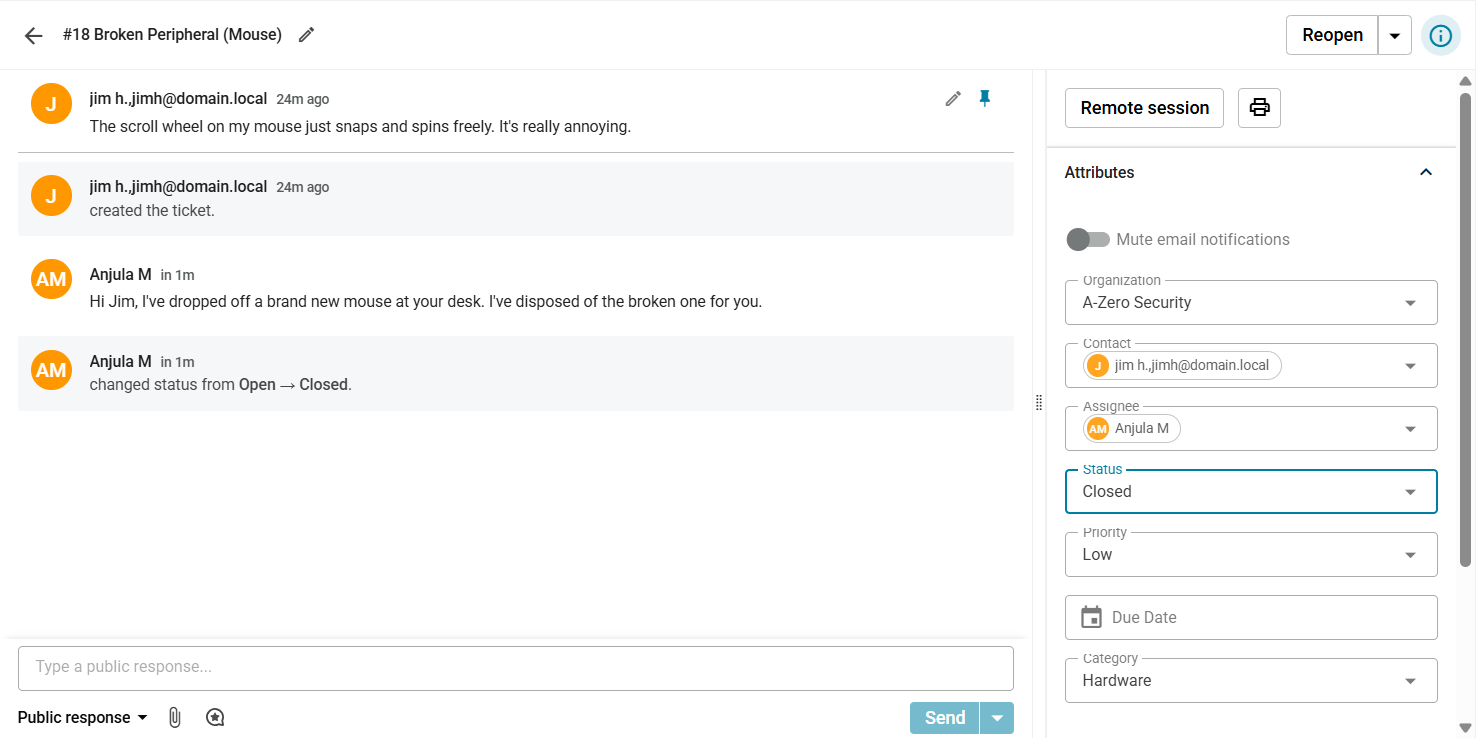
Requested by: Jim H., Sales
Summary: Broken Peripheral (Mouse)
Description: "The scroll wheel on my mouse just snaps and spins freely. It's really annoying."
Priority: Low (P4)
Actions taken to resolve: Checked inventory for available stock. Deployed "Logitech B100" replacement. Updated asset tracking system to mark the old mouse as "Scrapped".
Response: "Hi Jim, I've dropped off a brand new mouse at your desk. I've disposed of the broken one for you."
Status: Closed
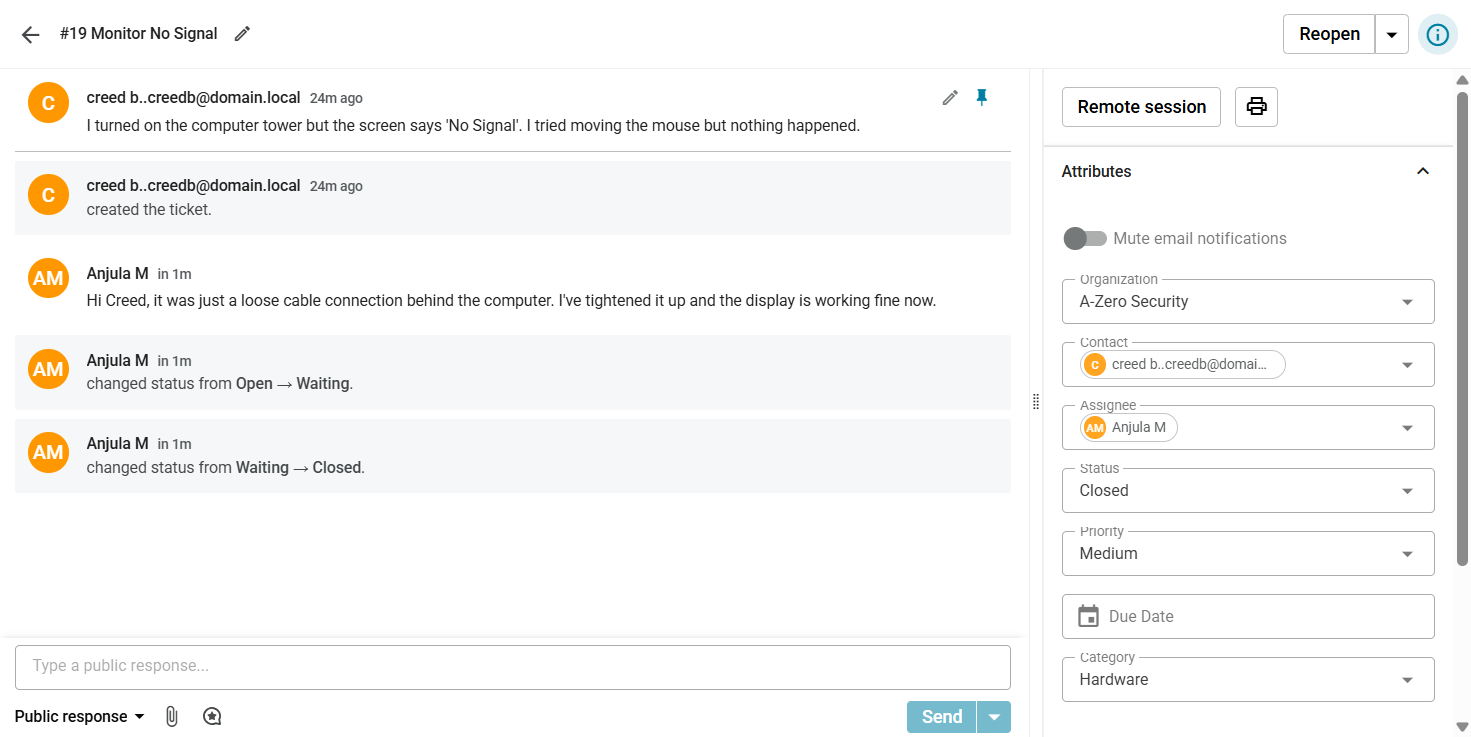
Requested by: Creed B., QA
Summary: Monitor No Signal
Description: "I turned on the computer tower but the screen says 'No Signal'. I tried moving the mouse but nothing happened."
Priority: Medium (P3)
Actions taken to resolve: Checked physical connections. Discovered the HDMI cable was loose at the PC tower end. Reseated the cable firmly and secured it.
Response: "Hi Creed, it was just a loose cable connection behind the computer. I've tightened it up and the display is working fine now."
Status: Closed
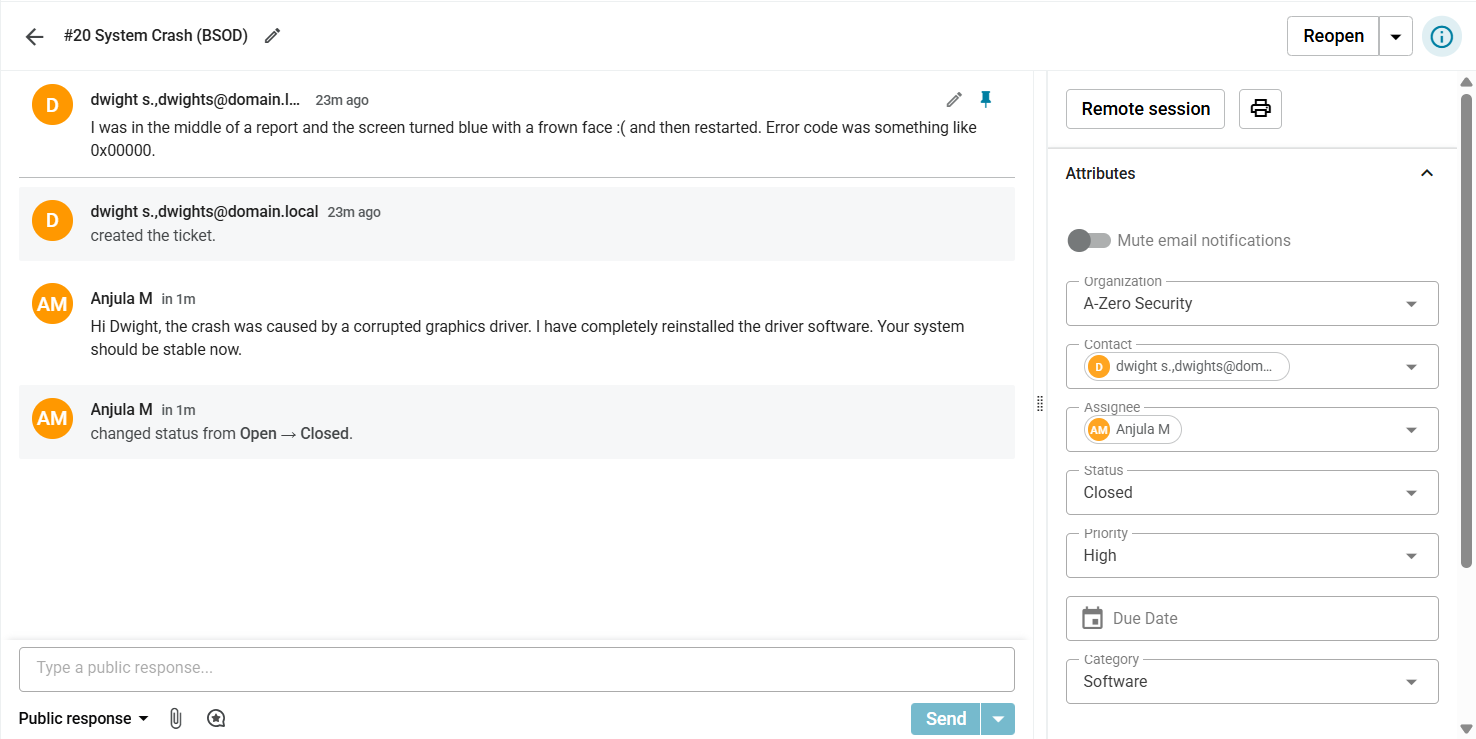
Requested by: Dwight S., Sales
Summary: System Crash (BSOD)
Description: "I was in the middle of a report and the screen turned blue with a frown face :( and then restarted. Error code was something like 0x00000."
Priority: High (P2)
Actions taken to resolve: Analyzed memory dump file using BlueScreenView. Identified error in `nvlddmkm.sys` (Nvidia Driver). Booted to Safe Mode, used DDU to strip old drivers, and installed the latest stable Nvidia driver.
Response: "Hi Dwight, the crash was caused by a corrupted graphics driver. I have completely reinstalled the driver software. Your system should be stable now."
Status: Closed
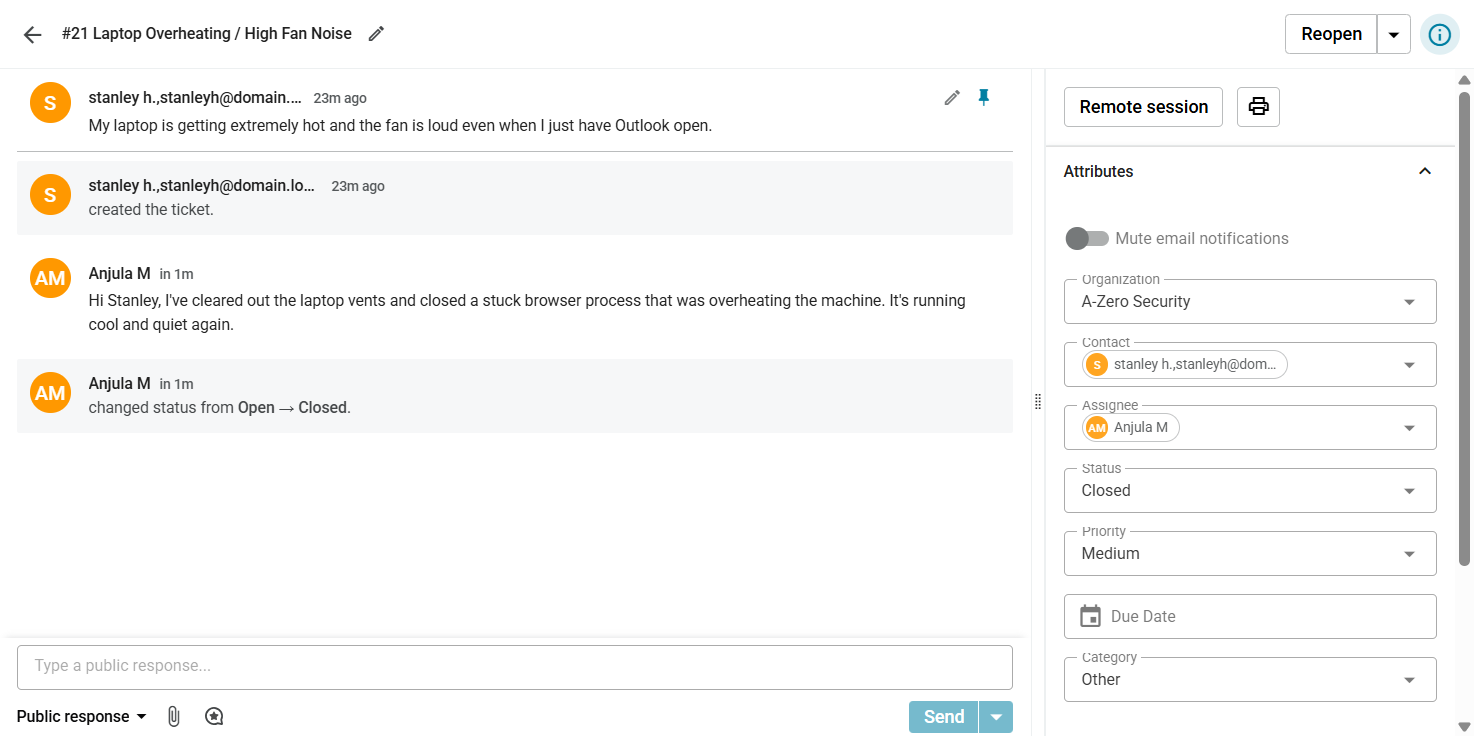
Requested by: Stanley H., Sales
Summary: Laptop Overheating / High Fan Noise
Description: "My laptop is getting extremely hot and the fan is loud even when I just have Outlook open."
Priority: Medium (P3)
Actions taken to resolve: Checked Task Manager; found `Chrome.exe` stuck consuming 80% CPU. Terminated the process. Physically cleaned dust from intake vents. Idle temperature dropped to 45°C.
Response: "Hi Stanley, I've cleared out the laptop vents and closed a stuck browser process that was overheating the machine. It's running cool and quiet again."
Status: Closed

Requested by: Oscar M., Accounting
Summary: Excel Crashing on Macro Run
Description: "Every time I try to run the macro on the 'Q3_Budget_Final.xlsx' sheet, Excel just closes completely."
Priority: Medium (P3)
Actions taken to resolve: Launched `excel.exe /safe` and tested file; it worked. Disabled COM Add-ins sequentially. Identified "Obsolete Accounting Plugin" as the cause. Uninstalled the plugin.
Response: "Hi Oscar, the crash was caused by an old accounting plugin that isn't compatible with the new budget sheet. I've removed it, and your macros are running smoothly now."
Status: Closed
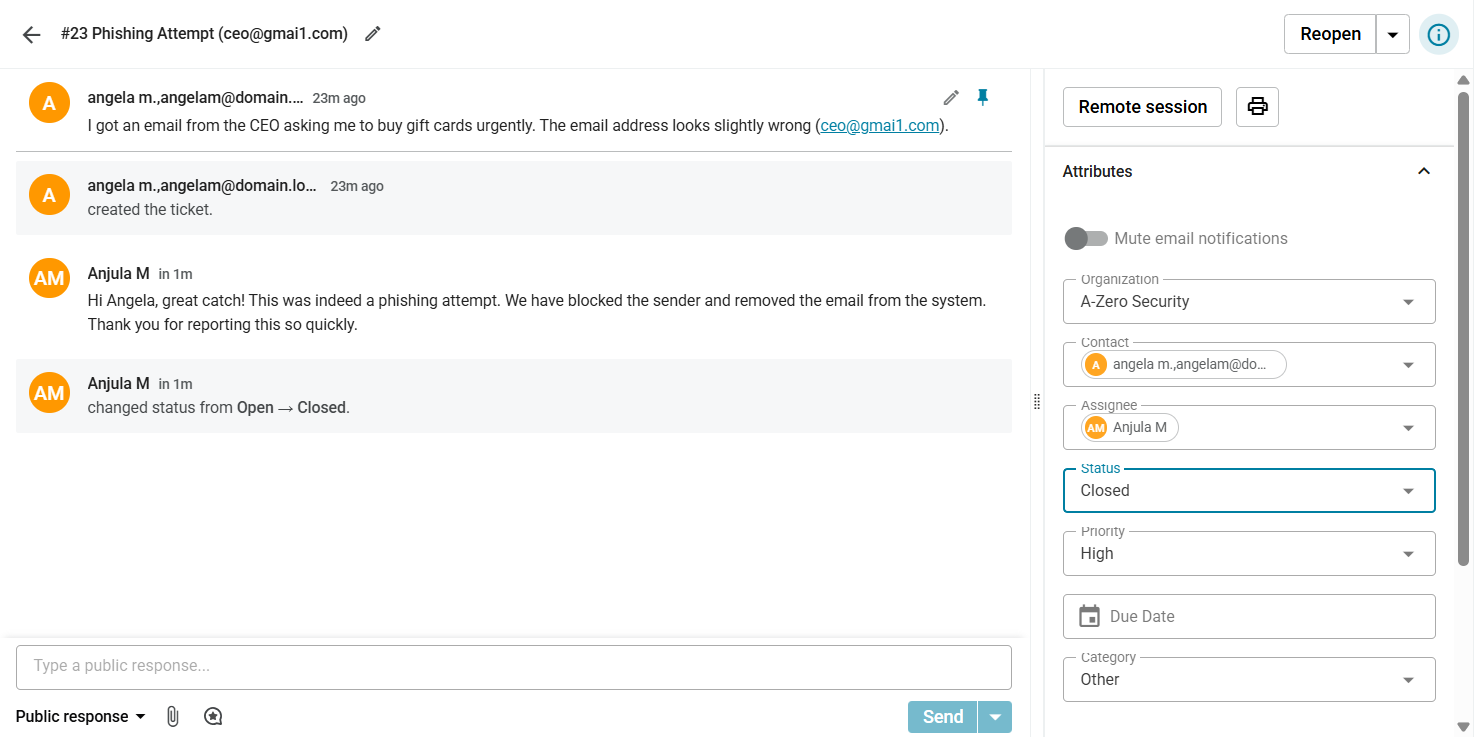
Requested by: Angela M., Accounting
Summary: Phishing Attempt (ceo@gmai1.com)
Description: "I got an email from the CEO asking me to buy gift cards urgently. The email address looks slightly wrong (ceo@gmai1.com)."
Priority: High (P2)
Actions taken to resolve: Analyzed email headers to confirm spoofing. Blocked the sender domain in the Email Gateway. Used PowerShell to purge the malicious email from all user mailboxes to prevent others from clicking.
Response: "Hi Angela, great catch! This was indeed a phishing attempt. We have blocked the sender and removed the email from the system. Thank you for reporting this so quickly."
Status: Closed
Knowledge Base
The most important tool in any ticketing system is the knowledge base. This is where you can write articles on how to troubleshoot and solve common problems. This helps everyone on your team and makes resolving tickets much easier. As the knowledge base grows, it becomes the go-to place to quickly find solutions to common problems.
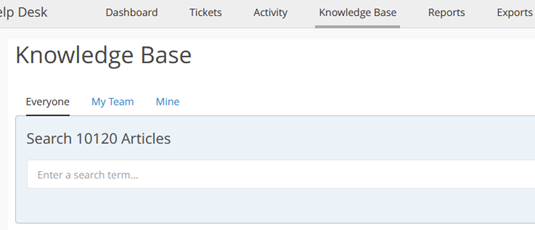
Click the Knowledge Base tab to open it up.

Here you can choose to see articles created by everyone in the community, just your team, or by yourself. Being able to see the articles from everyone in the community will be helpful when solving problems that you are unfamiliar with.
To create a new article, click the New Article button on the right.

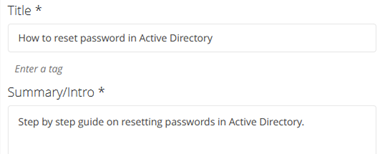
You can now give your article a title and a brief summary of what the article will be about.
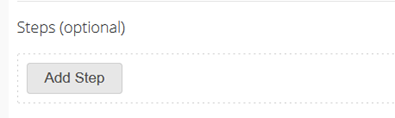
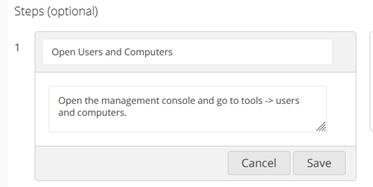
You can then click the Add Step button to add steps to troubleshooting and resolving the issue. The steps will help create direct and actionable items that someone can easily follow.
You can now name the step and fill out the details for that step. You can continue to do this for all steps.
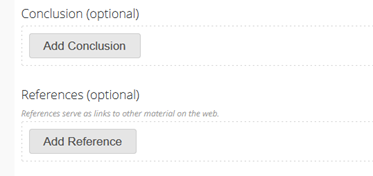
After adding the steps, you can also add a conclusion or even references for a particular issue.
You can then click Save to commit your article to the knowledge base.
Inventory Management
Tracking and managing devices in an organization plays an important role in supporting the organization. The inventory management tab in Spiceworks allows you to easily scan your network for all devices. You can then associate those devices with tickets, allowing you to track incidents to resolution.
Inventory Management Setup
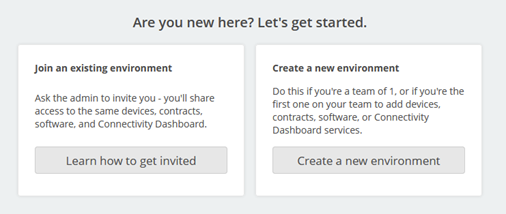
Open the inventory management tab by clicking on the Device Inventory tab on the left.

Click Create a new environment.
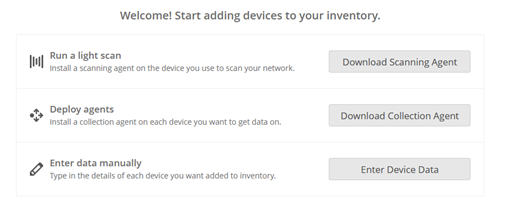
You will now have the option to download software that will allow you to scan your network. This will be installed on the main computer that you use to run your helpdesk software on. Click Download Scanning Agent to proceed.
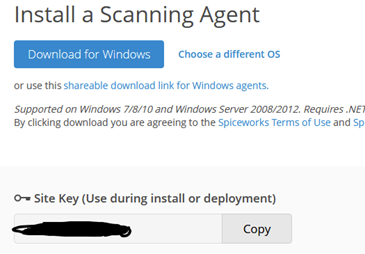
Choose your operating system and copy the site key.
Once downloaded, open the installer to begin installation.
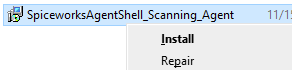
During the installation, you will be asked to enter the site key you copied earlier. You can press continue to the end to finish the installation.
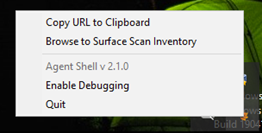
After the installation is complete, the scanning agent will start scanning your network in the background. It might take a while to complete this task. You might have to right click on the Spiceworks tray icon on the lower right and click Browse to surface Scan Inventory.
Install Collection Agent
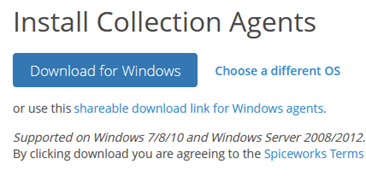
To get more detailed information from the scans, you can also need to download the Collection Agent from the Device Inventory tab. This will need to be installed on each machine that you want detailed information on.

Choose your operating system to start the download.
After downloading, launch the installation file.

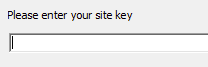
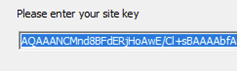
You will be asked to enter your site key. This will be automatically filled out. Press Continue to the end to finish the installation.
Scan For Devices
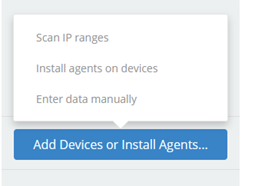
Go back to the Spiceworks inventory tab. Click the Add Devices or Install Agents button. Click Scan IP ranges.
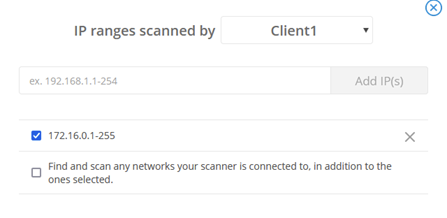
You should see a popup like the one below. If it does not popup, then it means the scanning agent has not scanned your system yet. You might have to restart your machine or wait longer for the scanning to complete. It should display the IP range of your network. You can manually add any IP addresses if needed.
When the scan is complete, you should see the list of devices on your network in the Device Inventory Tab.

You can click on a device to see more information about it. Here you can look at the hardware, network adapters and even the software installed on that device.

Device Inventory Tasks
Now that you have a list of all devices on your network, you can associate them with tickets. You will now go through some of the common tasks and tickets associated with Devices.
Associating Device to Existing Ticket
If you have a ticket for a hardware related problem, you can now associate a device with that ticket. Open the ticket and type in the device name under related devices. Devices with similar names will show up in the drop-down menu. You can then select the correct device that is having the problem.

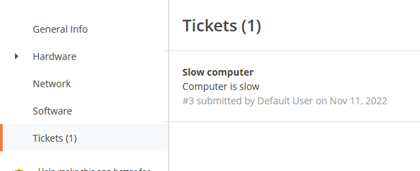
When you go back to the Device Inventory tab, you can click on the device and go to the tickets tab. You will now see the ticket that is associated with that device. If there is no ticket currently associated with that device then you will have an option to create a new ticket for that device.
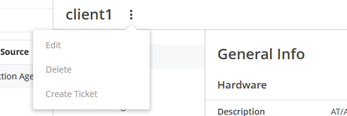
You can also create a new ticket for a device by clicking the menu button by its name. There you will have the option to create a ticket.
Assigning Device to User
You can also manually assign a device to a user by going to the Device inventory tab, then clicking on the device. You can then click on the menu button and select Edit.

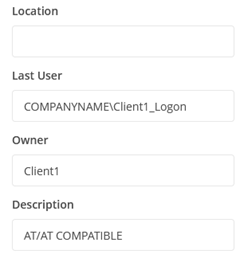
You can now enter the name of the person that the device will be assigned to. You can add more information such as the location of the device or the serial number. You can also add additional information in the description if needed such as if the device is down and needs to be replaced.
Challenges & Lessons Learned
This lab provided a comprehensive look at the role of an IT Support Specialist. Key takeaways included:
- Documentation is Critical: Solving the problem is only half the job. Documenting the how ensures the solution is repeatable.
- Triage Matters: Properly categorizing and prioritizing tickets prevents critical issues (like a server outage) from being buried behind minor requests (like a mouse replacement).
- The "Shift Left" Strategy: Creating Knowledge Base articles empowers users and other technicians, reducing the overall ticket volume.
- Asset Visibility: Linking inventory to tickets helps identify recurring hardware failures that might require replacement rather than repair.
By simulating these scenarios, I have gained practical experience in Incident Management, Service Request Fulfillment, and Asset Management using industry-standard tools.